


A social networking website is commonly called a community platform or a social network platform where the internet users create their profiles and communicate with each other.
It is not mandatory to know people before joining these community sites!
As the social network platform is open-source, anyone can join such sites, make friends, can comment, share and experience better discussion content.
So, what goes into creating a social networking site?
Actually, a social site cannot be called as a business website or an eCommerce portal. A social network platform is simply a site made for some social cause.
It can be related to anything! Let’s say it’s a fil community, sports community, a social community that spreads awareness about the distress in the human society, etc. There is no limit to such a site.
However, the limit is in its development!
For those who want to help thousands and millions of people to get connected with each other, building a community website is a great thing to do in a lifetime. The only problem is how to build it?
To solve this problem of thousands of internet lovers, we a top WordPress development services provider company in USA are in action; so that you can create the best social community website!
We see WordPress website services a perfect fit for this hour’s need. Below is a complete method where you can learn to create a social network platform using WordPress website building tutorial.
NOTE: The below methods are updated as per the latest WordPress version!
Also Read: 10 Do’s And Don’ts Tips When You Select A Wordpress Theme
Create A Social Network Website With WordPress
WordPress is the most commonly used opensource CMS for creating websites. It helps the developers in creating any kind of website like business, eCommerce, blogging site, and community site.
“Currently, WordPress power 30% of the world’s website and reigning top in the website building tools.”
WordPress provides different kinds of plugins to help in creating the most attractive and intuitive sites. Likewise, to create a social networking site WordPress provides a plugin known as BuddyPress.
BuddyPress is a community plugin with which we use WordPress for website building such as community sites, discussion forum sites, private messaging sites, survey forum sites, etc.
Why Use BuddyPress To Create Community Sites?
With WordPress’s, BuddyPress plugin you get several amazing features that help in making a powerful website. Also, it gives you full control over the site & helps in reaching more people.
Let’s take a look at the BuddyPress’s features:
- Allows your users to create their own social profiles
- Users can send friend requests (common for any social networking site)
- They can join and create specific groups
- Activity streams for groups
- Private message feature for all your users
- Sends notifications
- Rich emails settings and much more
- BuddyPress is free
The one constraint you can observe with BuddyPress is that customizing profiles and registration forms isn’t possible with this plugin. To come above this problem, you can use another powerful WordPress plugin, i.e., WP User Fronted Pro with which you can create powerful profiles.
Also, this has a feature called BuddyPress Profile Integration that easily and effectively maps custom profile fields.
“Therefore, WordPress + BuddyPress + WP User Frontend Pro + BuddyPress Profile Integration can create social community website.”
Now, without any further ado, let's find out how to create a community site using WordPress.
We assume that you have a domain, attached to your hosting services. The first step is to install WordPress and login to your WordPress site's Admin Dashboard.
Also Read: WordPress Introduces Google Supportive Rel UGC Nofollow Link Attribute
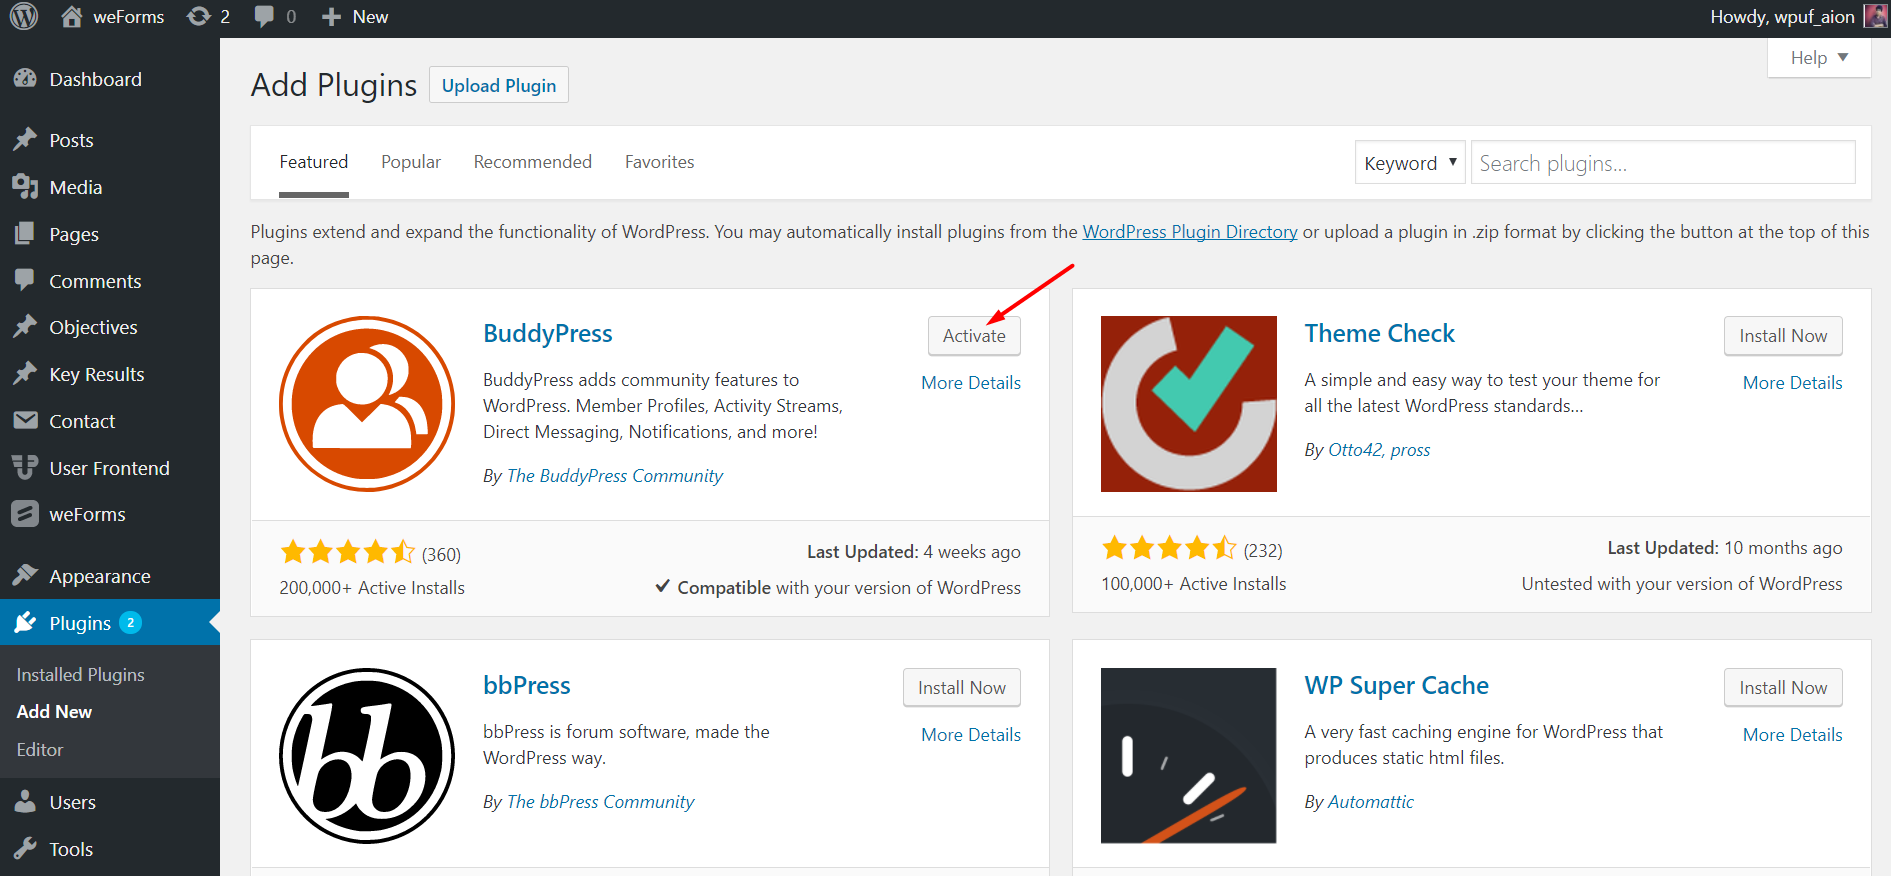
Thereafter, navigate to the Plugins section and search BuddyPress. Now click the Install button and activate the plugin.
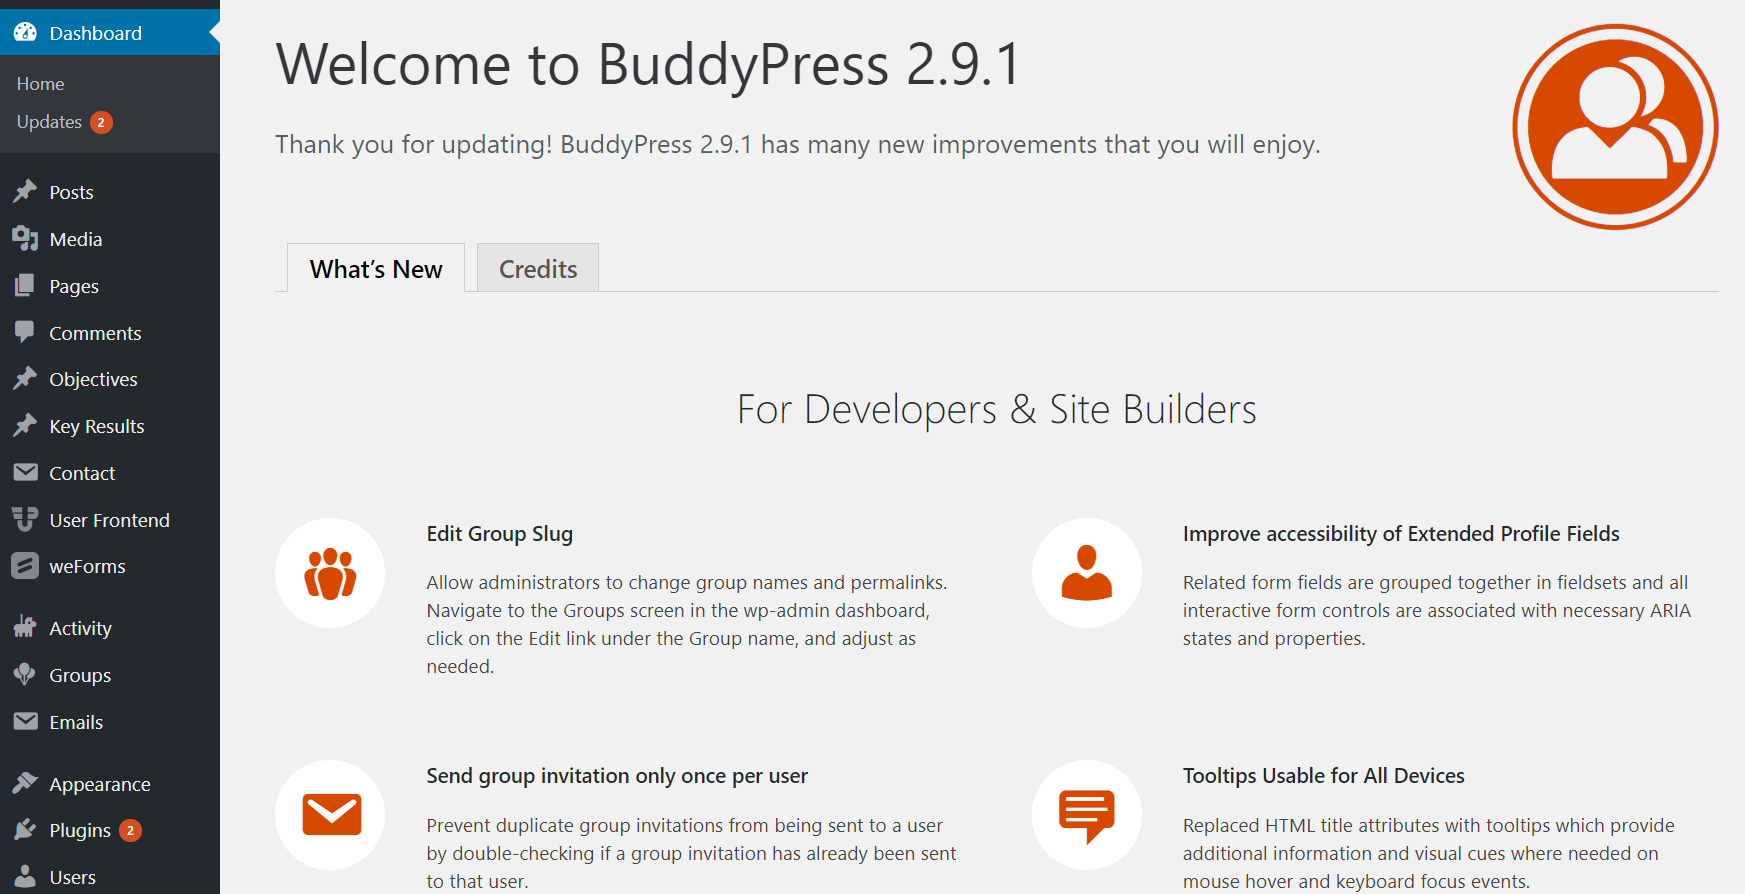
As soon as you activate the plugin, a welcome screen appears which looks like this!
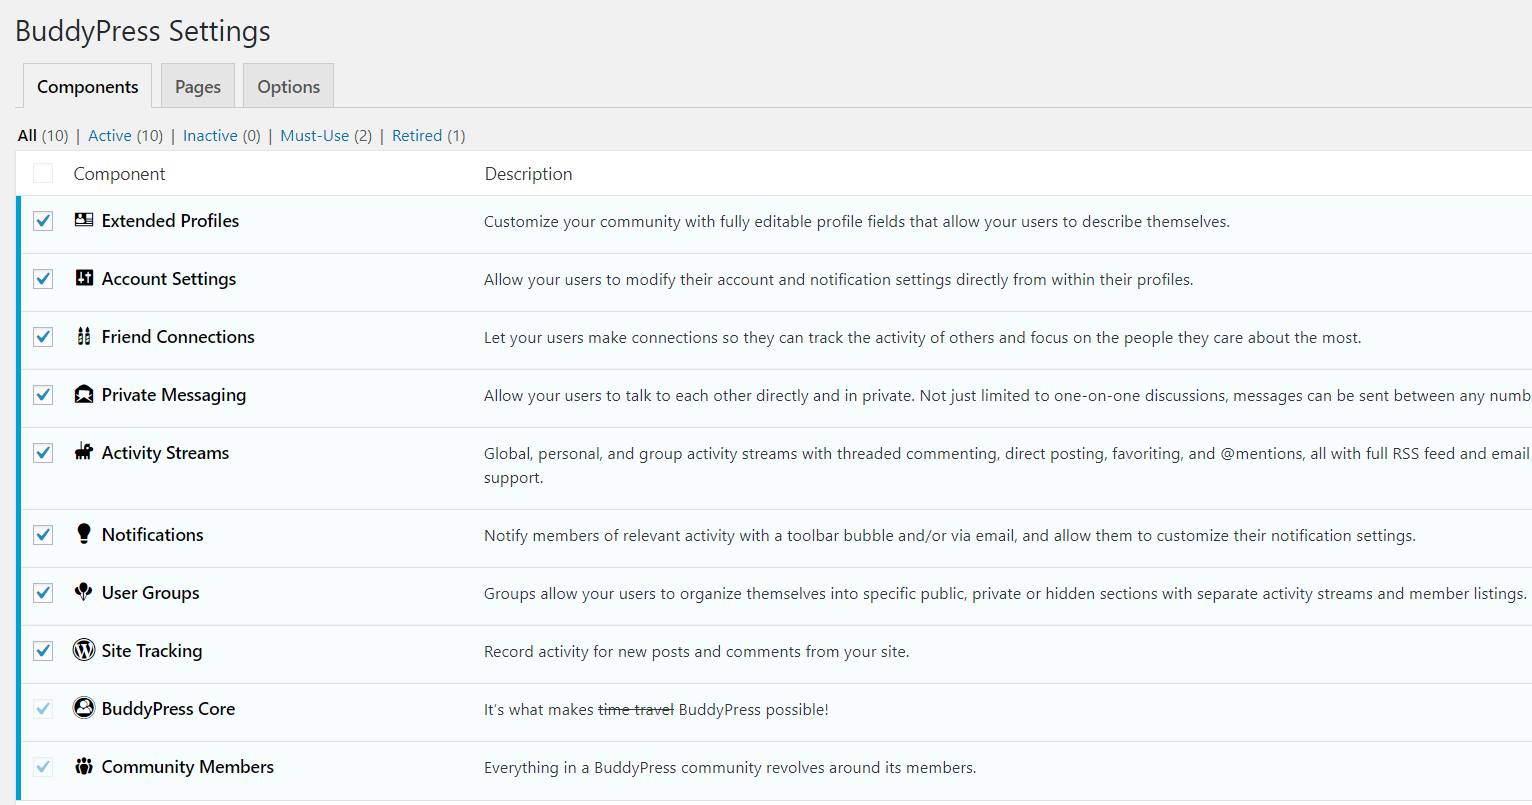
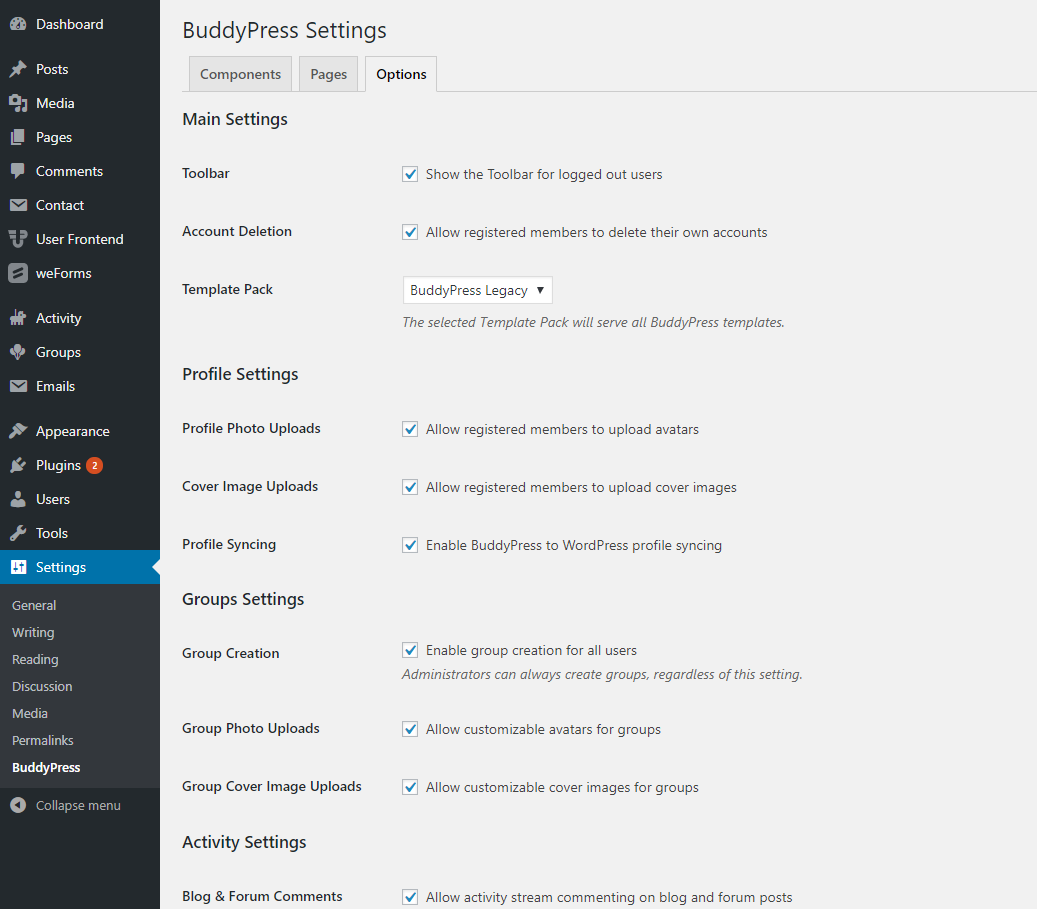
It is time to configure the BuddyPress plugin. Follow this: Go to WordPress Dashboard > Settings > BuddyPress. Enable or disable the components you want to appear on your site.
Set The Webpages
To set webpages, go back to WordPress Dashboard > Settings > BuddyPress > Pages.
Also Read: Google Releases Its Beta Version Of Site Kit Plugin For WordPress
There are some predefined pages like Members, Activity Streams, and User Groups pages. Though these pages are important, you can create new pages too as per your use.
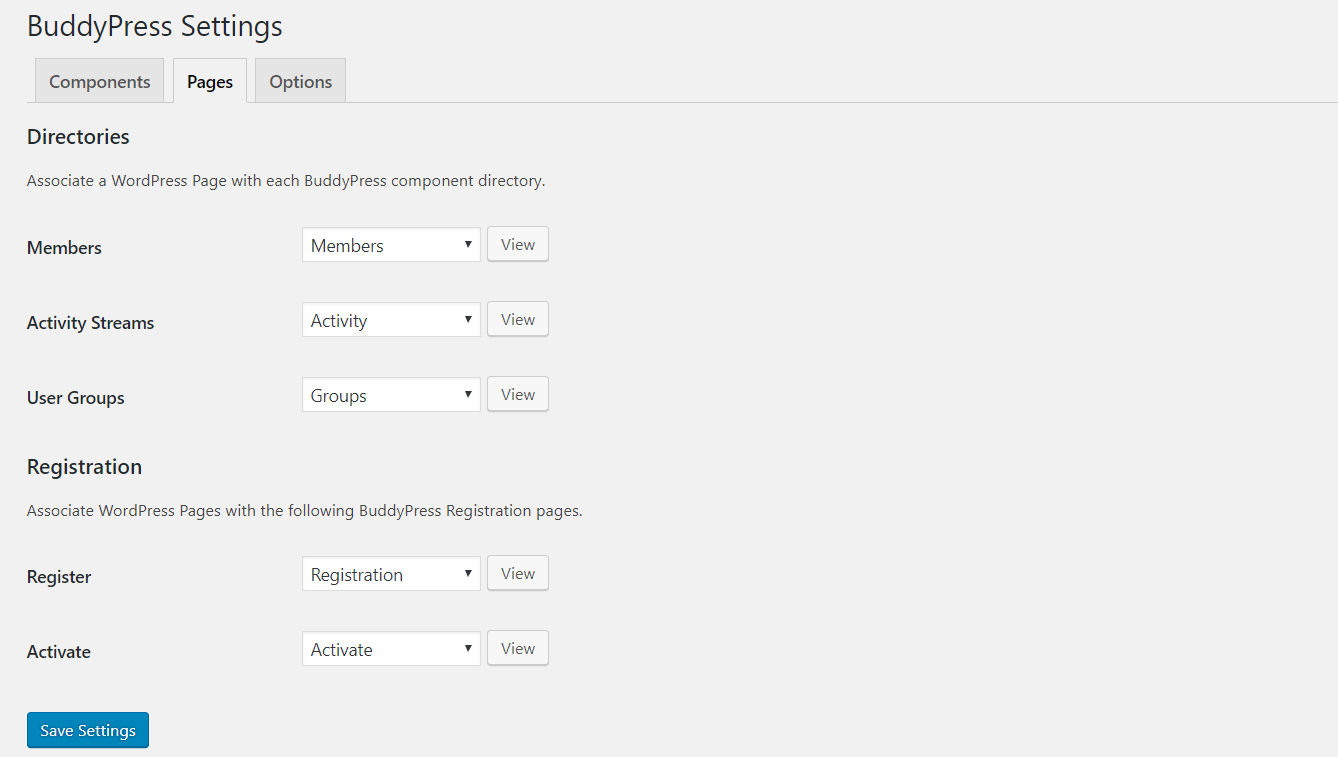
There are some default pages where registering and activating social profiles is easy. Under BuddyPress Settings, customizing profiles, groups, choosing templates, etc is an easy task.
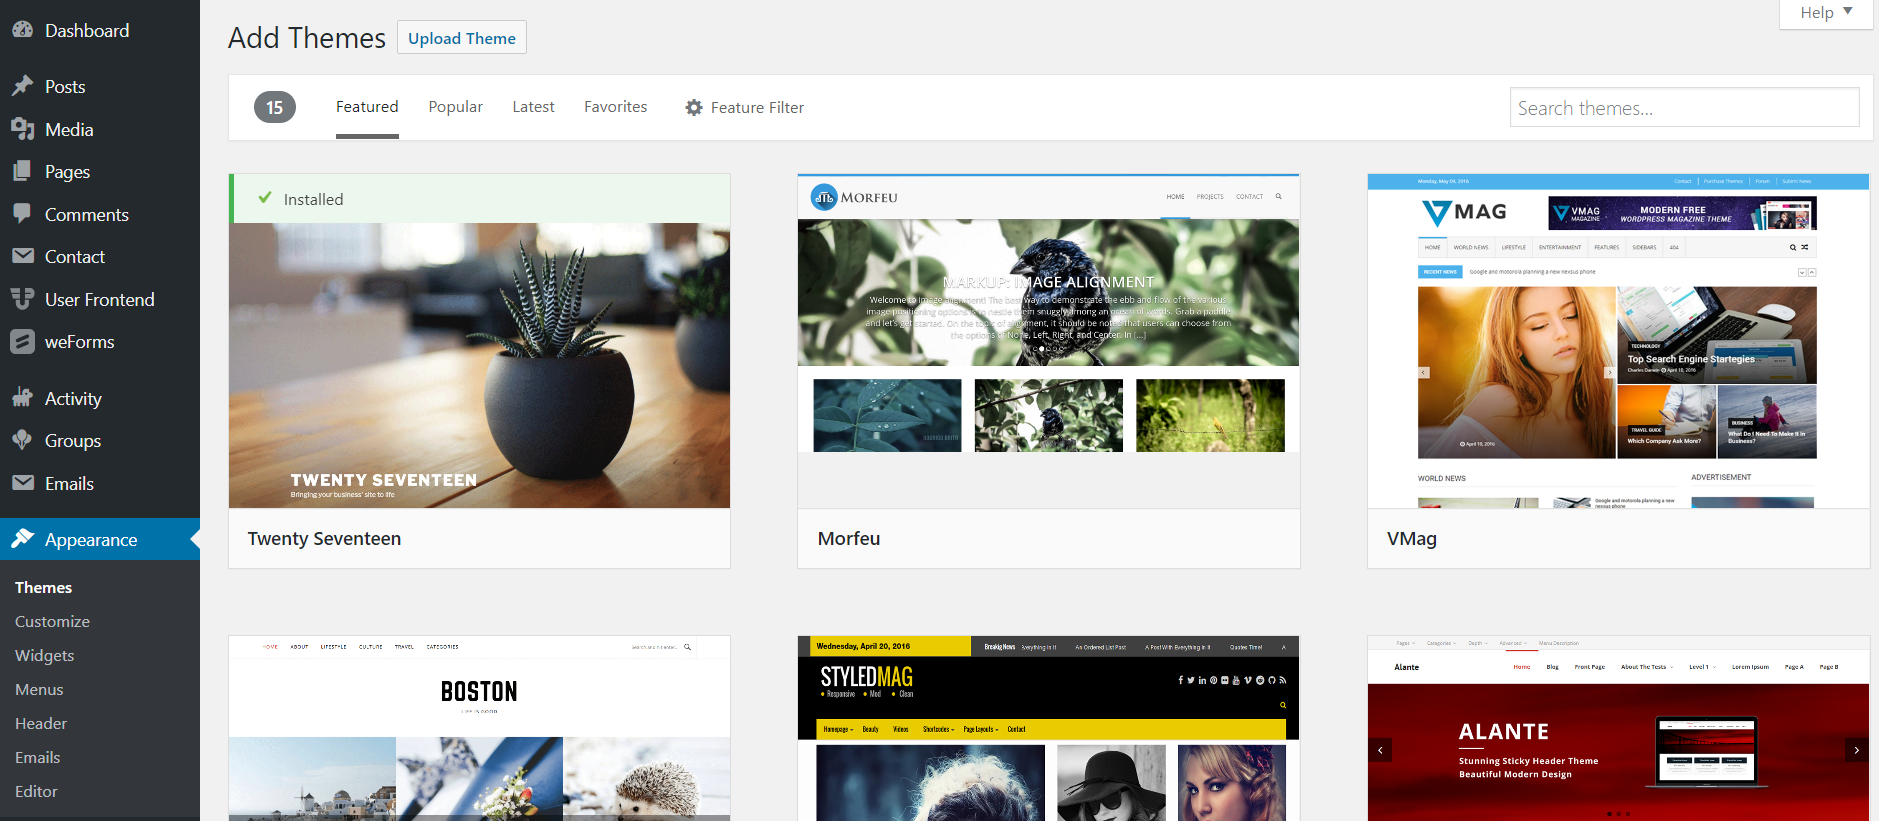
Choose An Attractive Theme
WordPress provides thousands of Free & Premium themes. Add themes by getting to the Appearance > Themes menu. Upload the theme and customize it in your own way.
There are many web design companies in USA that sell themes, you can buy from them and integrate it with WordPress with the help of coding. However, it is a time-taking process. So, it is better if you choose themes directly
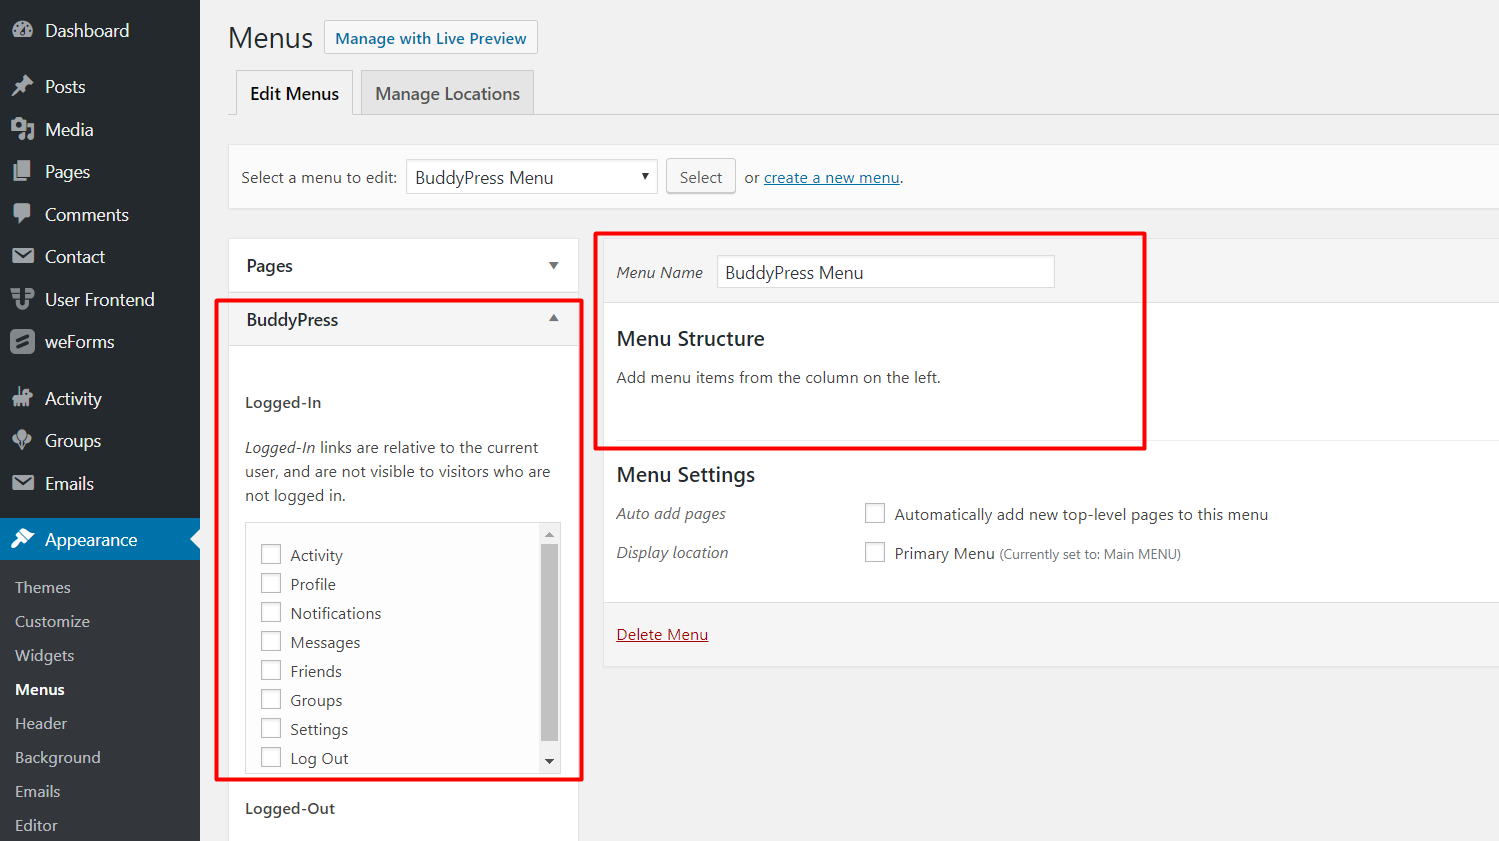
Make Website Menus
You created webpages on an attractive theme. But, you must create menus for the users. Just navigate towards the menu section and start creating and editing menus.
Time To Add Widgets
BuddyPress provides you many in-built widgets that you can use on WordPress for website creation such as community or social networking sites! Drag & drop them to the sidebars and other widget areas.

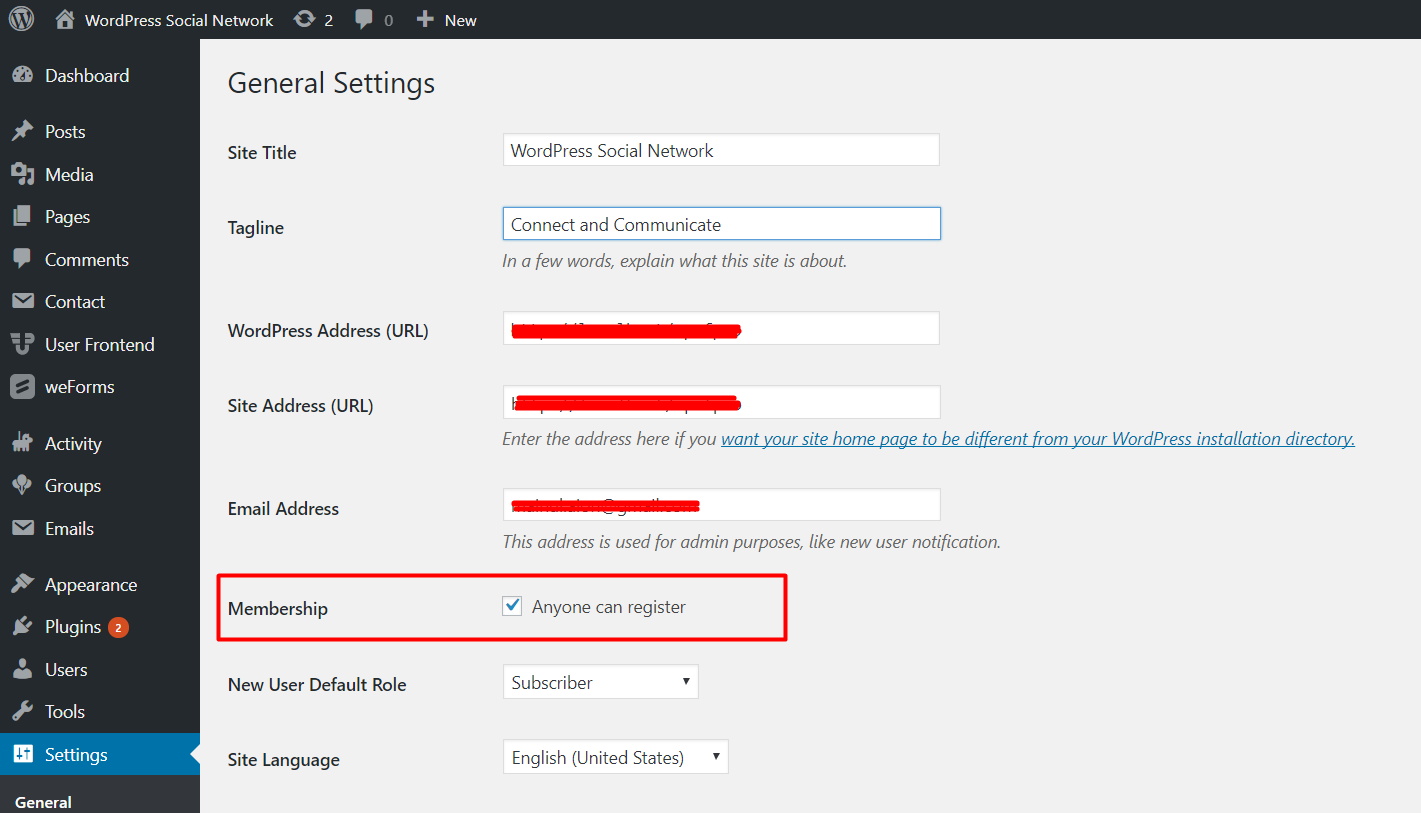
Enable Social Network User Registration
The website registration is by default disabled in WordPress. To enable it, go to Admin Dashboard > Settings > General and click on “Anyone can register option” & save the changes. This will enable user registration!
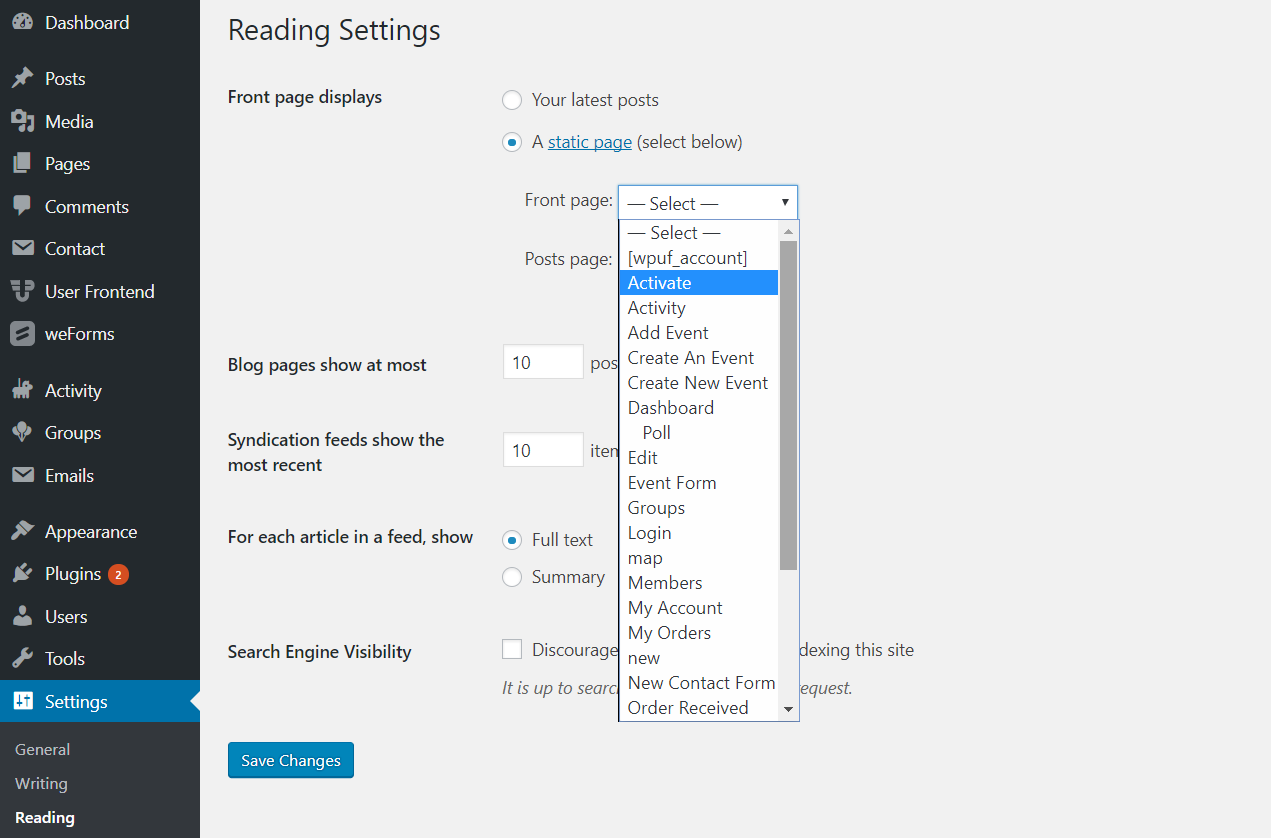
Set A Good Homepage For The Social Users
To set a front homepage, go to Setting > Reading > Front page displays > click A static page > Select activate from dropdown menu!
Use WP User Frontend Pro To Integrate Profile
The plugin allows you to use the profile fields in a frontend registration form. For this, you have to assign all the fields to make a registration form.
• Go to WP Admin Dashboard > Users > Profile Fields and create the BuddyPress profile fields.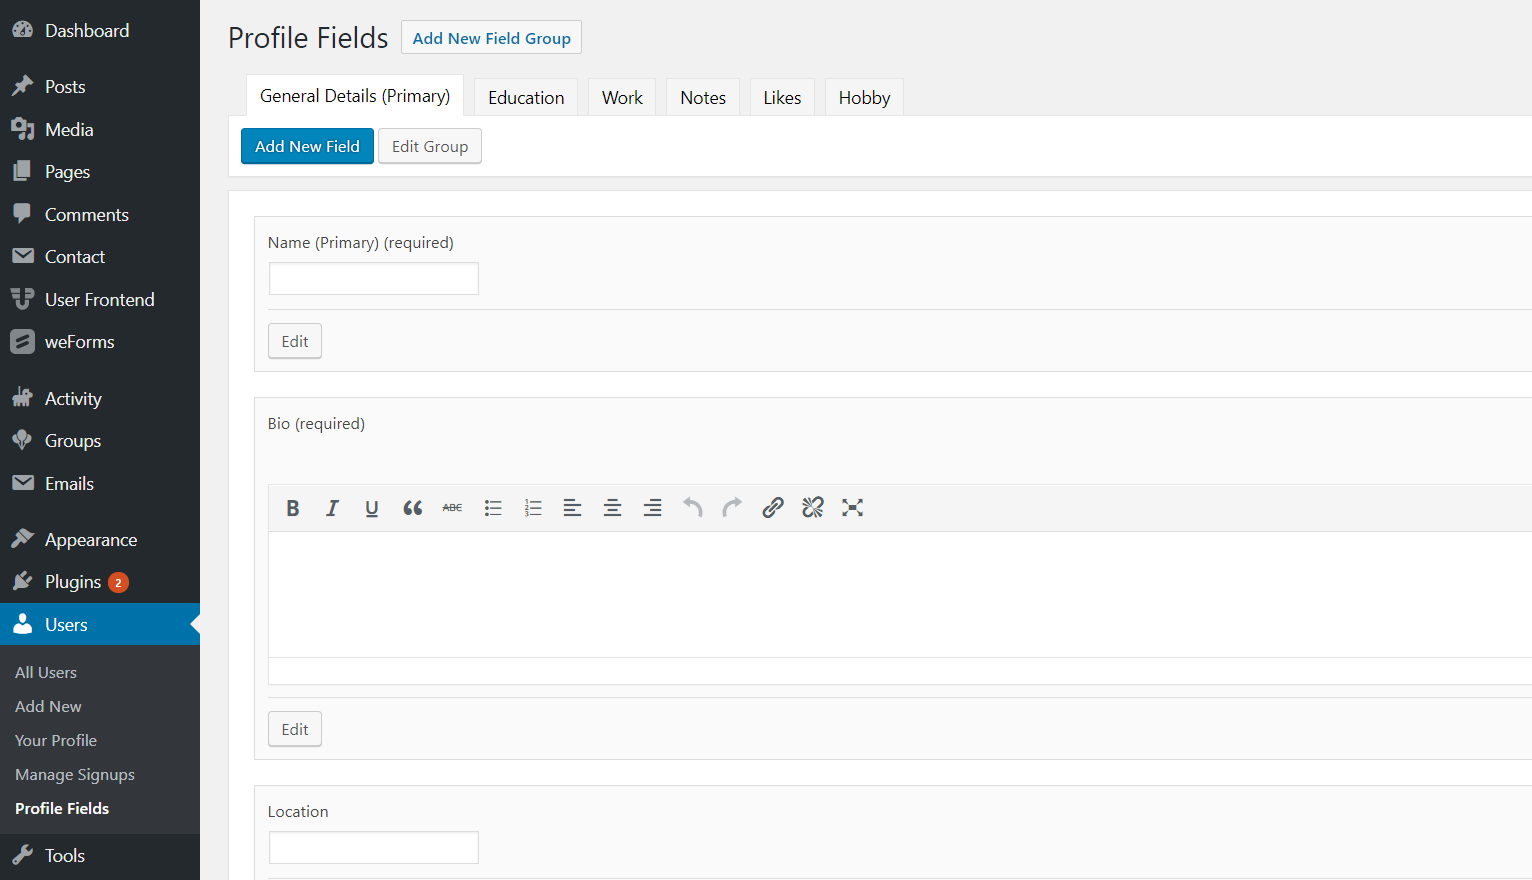
• Install WP User Frontend Pro and activate it! Go to > User Frontend > Registration Forms > Add Form
• Start creating the form with the fields you created for BuddyPress.
• Click on Settings > Go to BuddyPress. Start mapping each form fields with the BuddyPress profile fields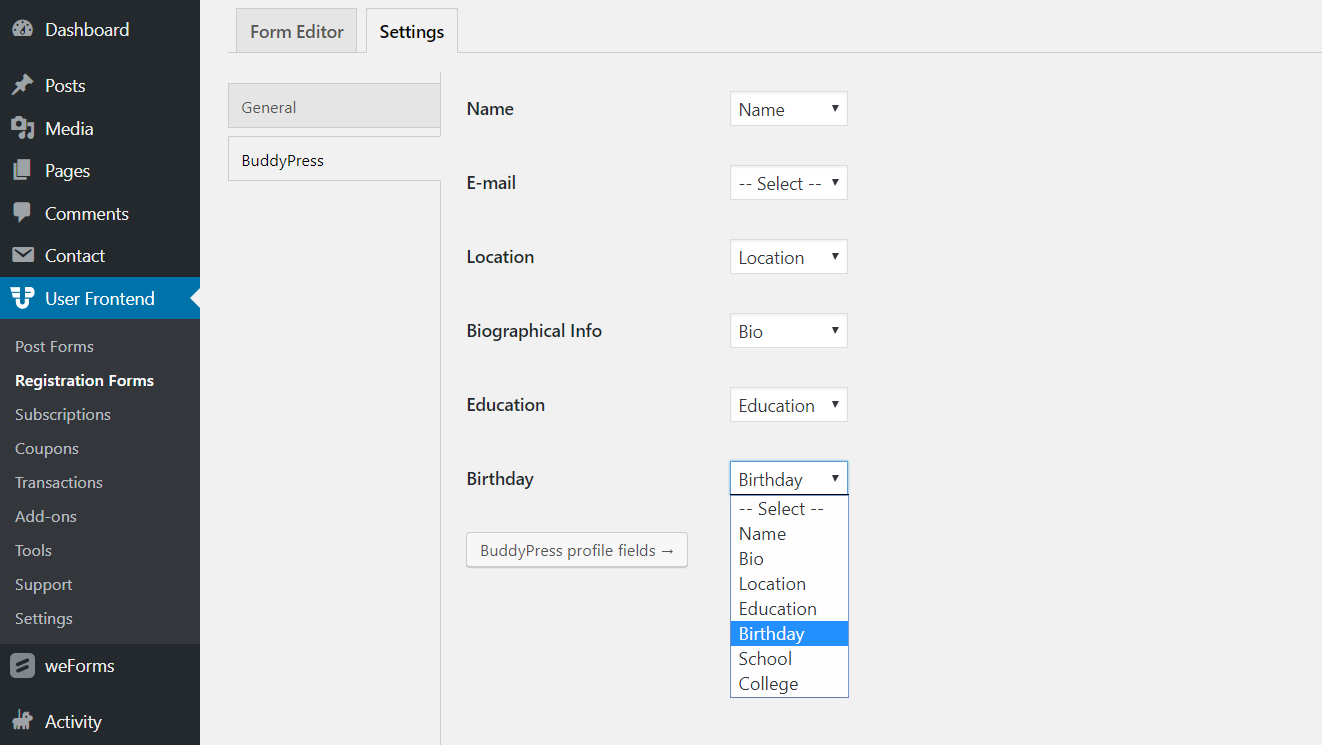
• Save the created Form. Now, publish it as a post or a webpage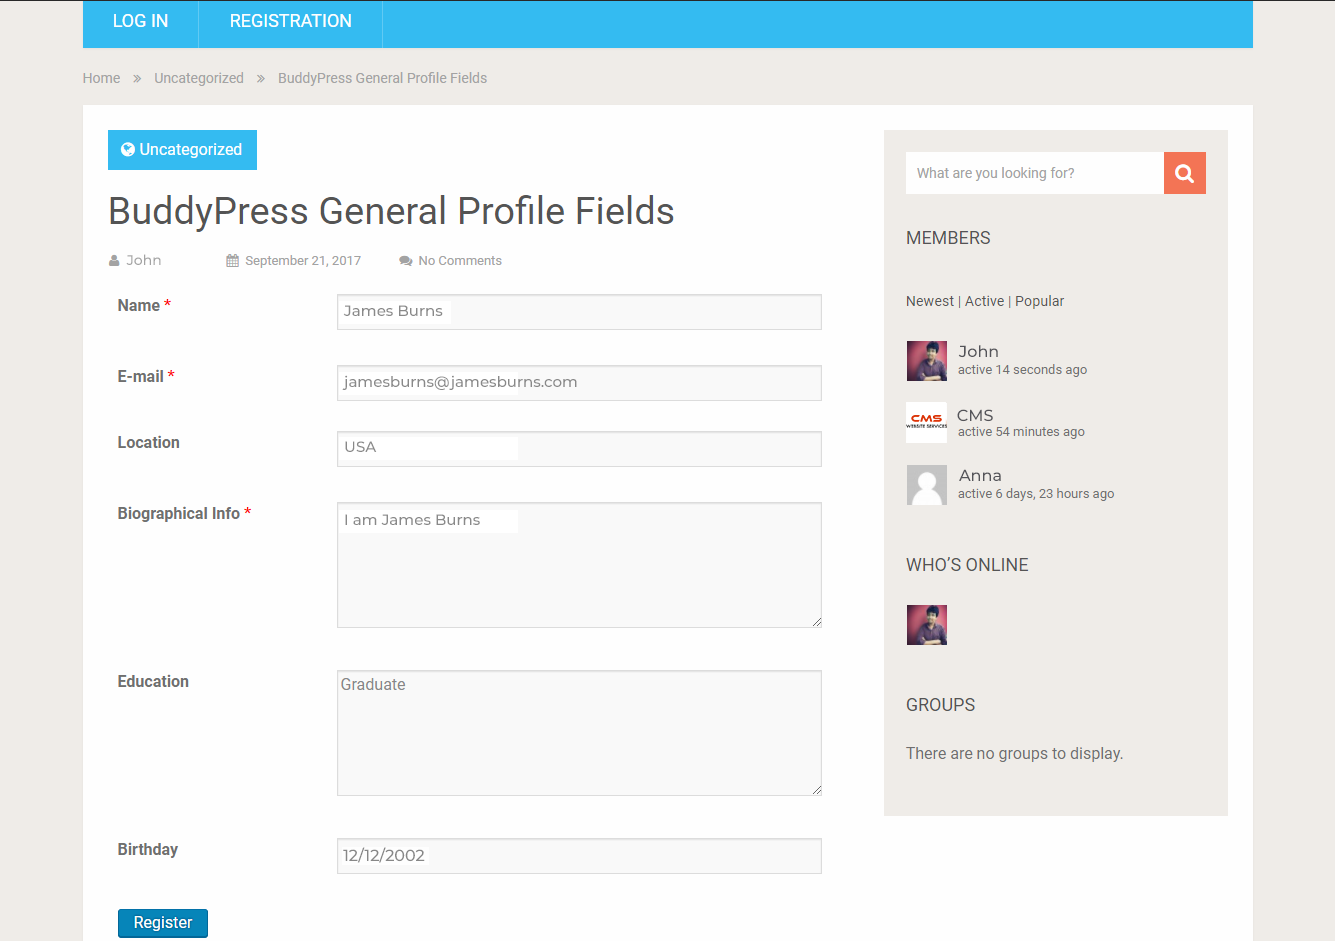
• The below image tells you how the saved data appears!.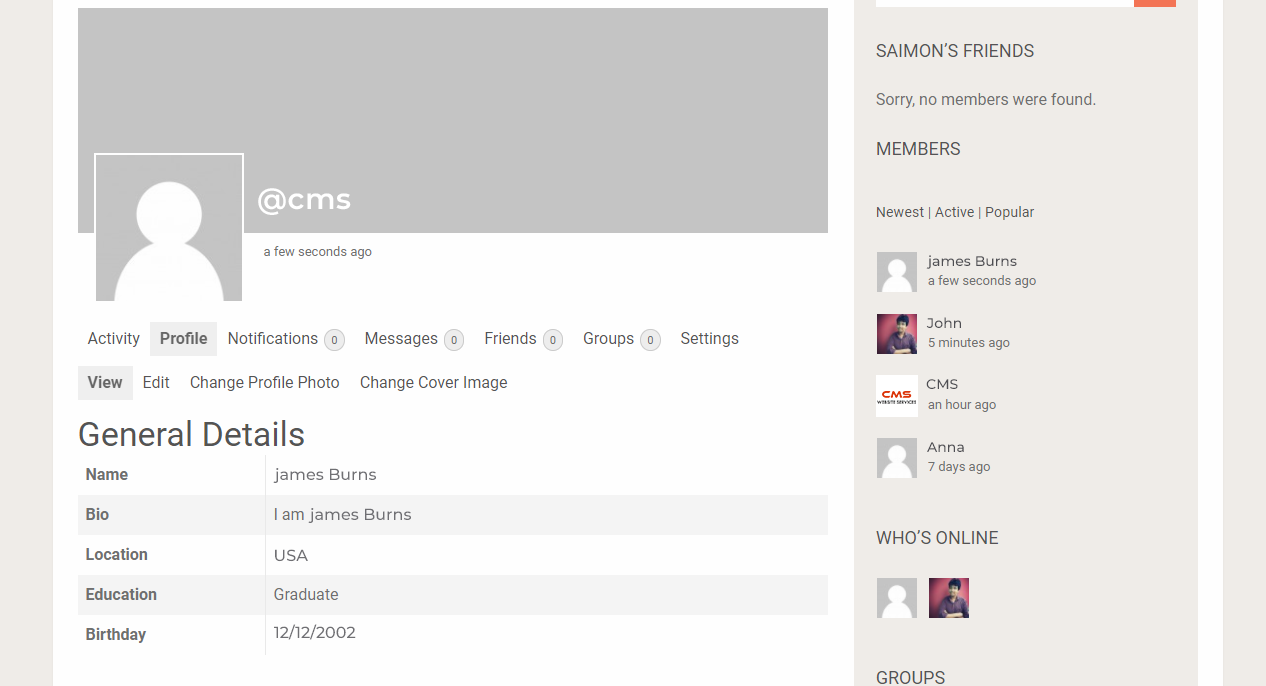
There are around 30 advanced fields that can help you to make a perfect social profile.
CONCLUSION
BuddyPress actually reduces the time in developing a social networking site with the help of WordPress. Though there are many top website development company in USA; however, CMS Website Services are best in using WordPress for website creation, such as social network platforms.
If you have any queries, then feel free to contact us anytime!